
Installing a septic system isn't a single task — it's a sequence of stages, each building on the last. Understanding that sequence does two things for you: it sets realistic expectations for timing and budget, and it explains why a firm price can't come before the very first stage is done. Above all, it shows why the soil evaluation, not the shovel, is where every installation truly begins.
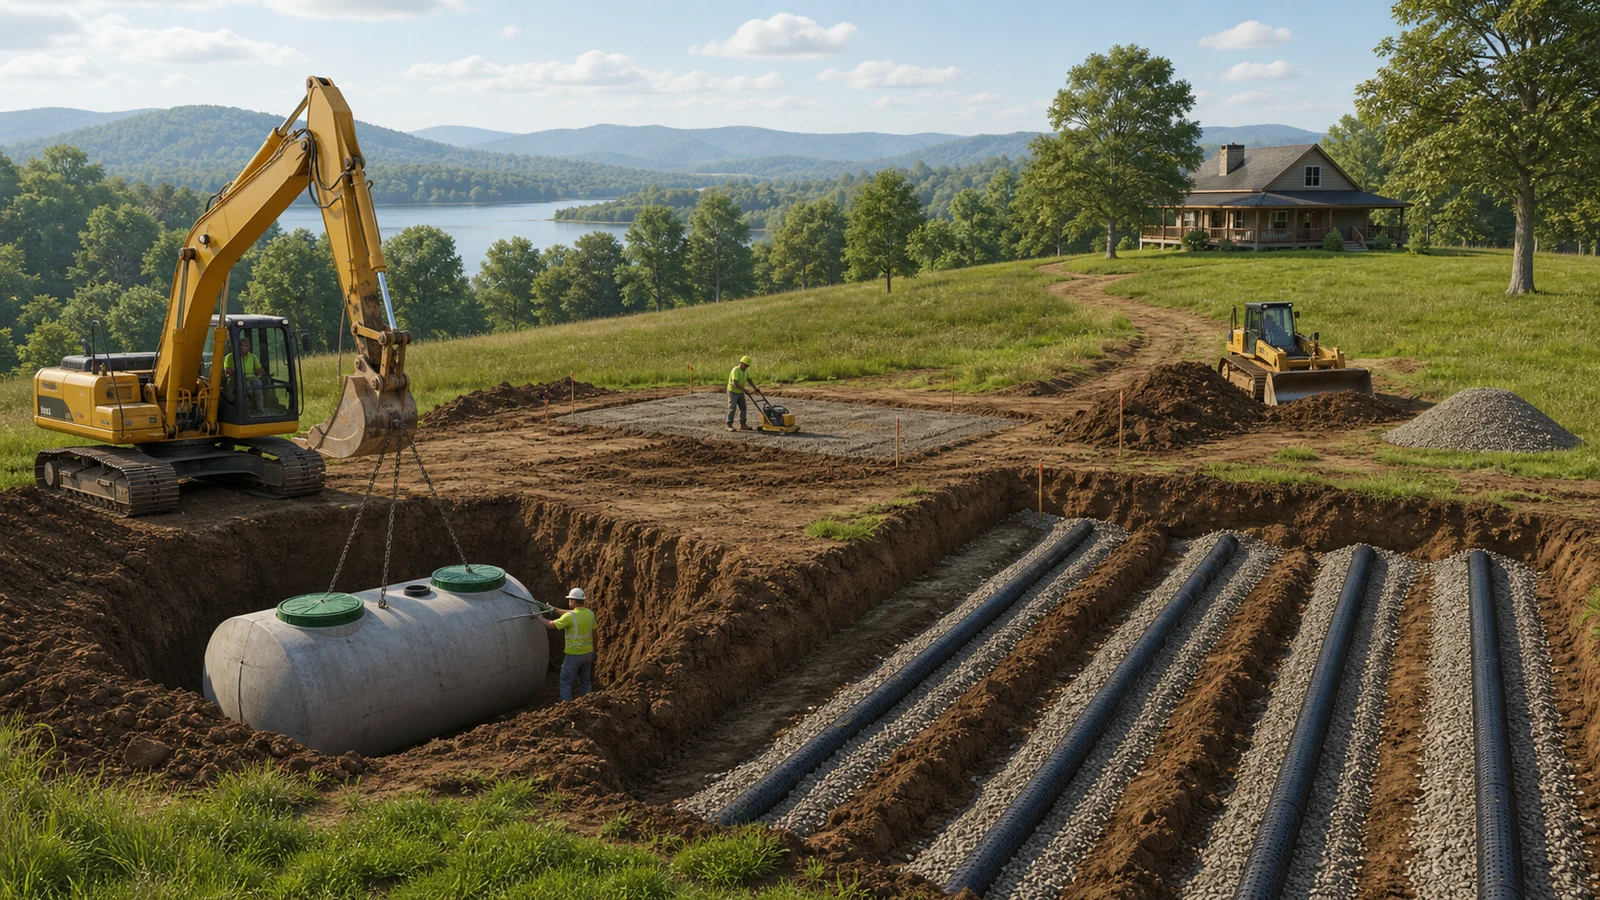
Stage 1 — Property Information and Soil Evaluation
Everything starts with understanding the ground. A soil and site evaluation — typically including a percolation ("perc") test — measures how readily the soil accepts and processes water, and assesses depth, slope, and layout. This is the single most important stage, because its results decide what kind of system the site can support and, therefore, most of what the project will involve. It's also why a real budget only comes together after this step. Our guide on installation cost factors explains how much flows from this one result.
Stage 2 — Design and Approvals
With the soil understood, the system is designed for the site: the tank sized for the home's expected use, and either a conventional gravity drain field or an alternative design where the soil or space calls for one. The design then goes through the applicable approval process with the appropriate authority. Requirements vary by property and county, and often the installer coordinates approvals as part of the project — see Tennessee septic permits and approvals.
Stage 3 — Installation
This is the construction most people picture: placing the tank, building the drain field, and connecting everything. It's heavy work involving excavation, so equipment access and the lot's layout matter — considerations that are more pronounced on the sloped, wooded, or hard-to-reach properties common across the Upper Cumberland.
Stage 4 — Restoration
A septic installation disturbs a good deal of ground, so the final stage is putting the property back together — final grading, and restoring the disturbed areas. Thoughtful layout in the earlier stages pays off here and for years afterward: a field placed where it can be reached and maintained is easier and cheaper to live with over its whole life.
Why the Order Matters
The reason installations follow this sequence — and can't be quoted from a chart — is that each stage depends on the discoveries of the one before it. You can't design without the soil results, can't price without the design, and can't build without approvals. For new construction, this is also why the septic system is best planned early rather than squeezed in late, as our guide on septic planning for new construction explains.
Getting Started
Because the project begins with an evaluation rather than a quote, the first step is to share your property details and plans so a provider can assess the site. Request septic service to begin, and see the installation and replacement hub for related guides.
This guide is general information for property owners, not professional advice for any specific system. Systems, soils and requirements vary by property and county — confirm specifics with a qualified provider or the appropriate authority. Cumberland Septic Hub is an independent referral service; provider availability, qualifications, pricing and service terms are determined by the provider.
Helpful Septic Guides
- Septic Installation and Replacement — the installation hub
- Septic Repairs and Drain Fields — when repair stops making sense
- Upper Cumberland Septic Guide — regional planning
Cumberland Septic Hub is an independent referral service. Requests may be shared with an independent local septic provider, and the provider determines availability, qualifications, pricing and service terms. Read the full referral disclosure.